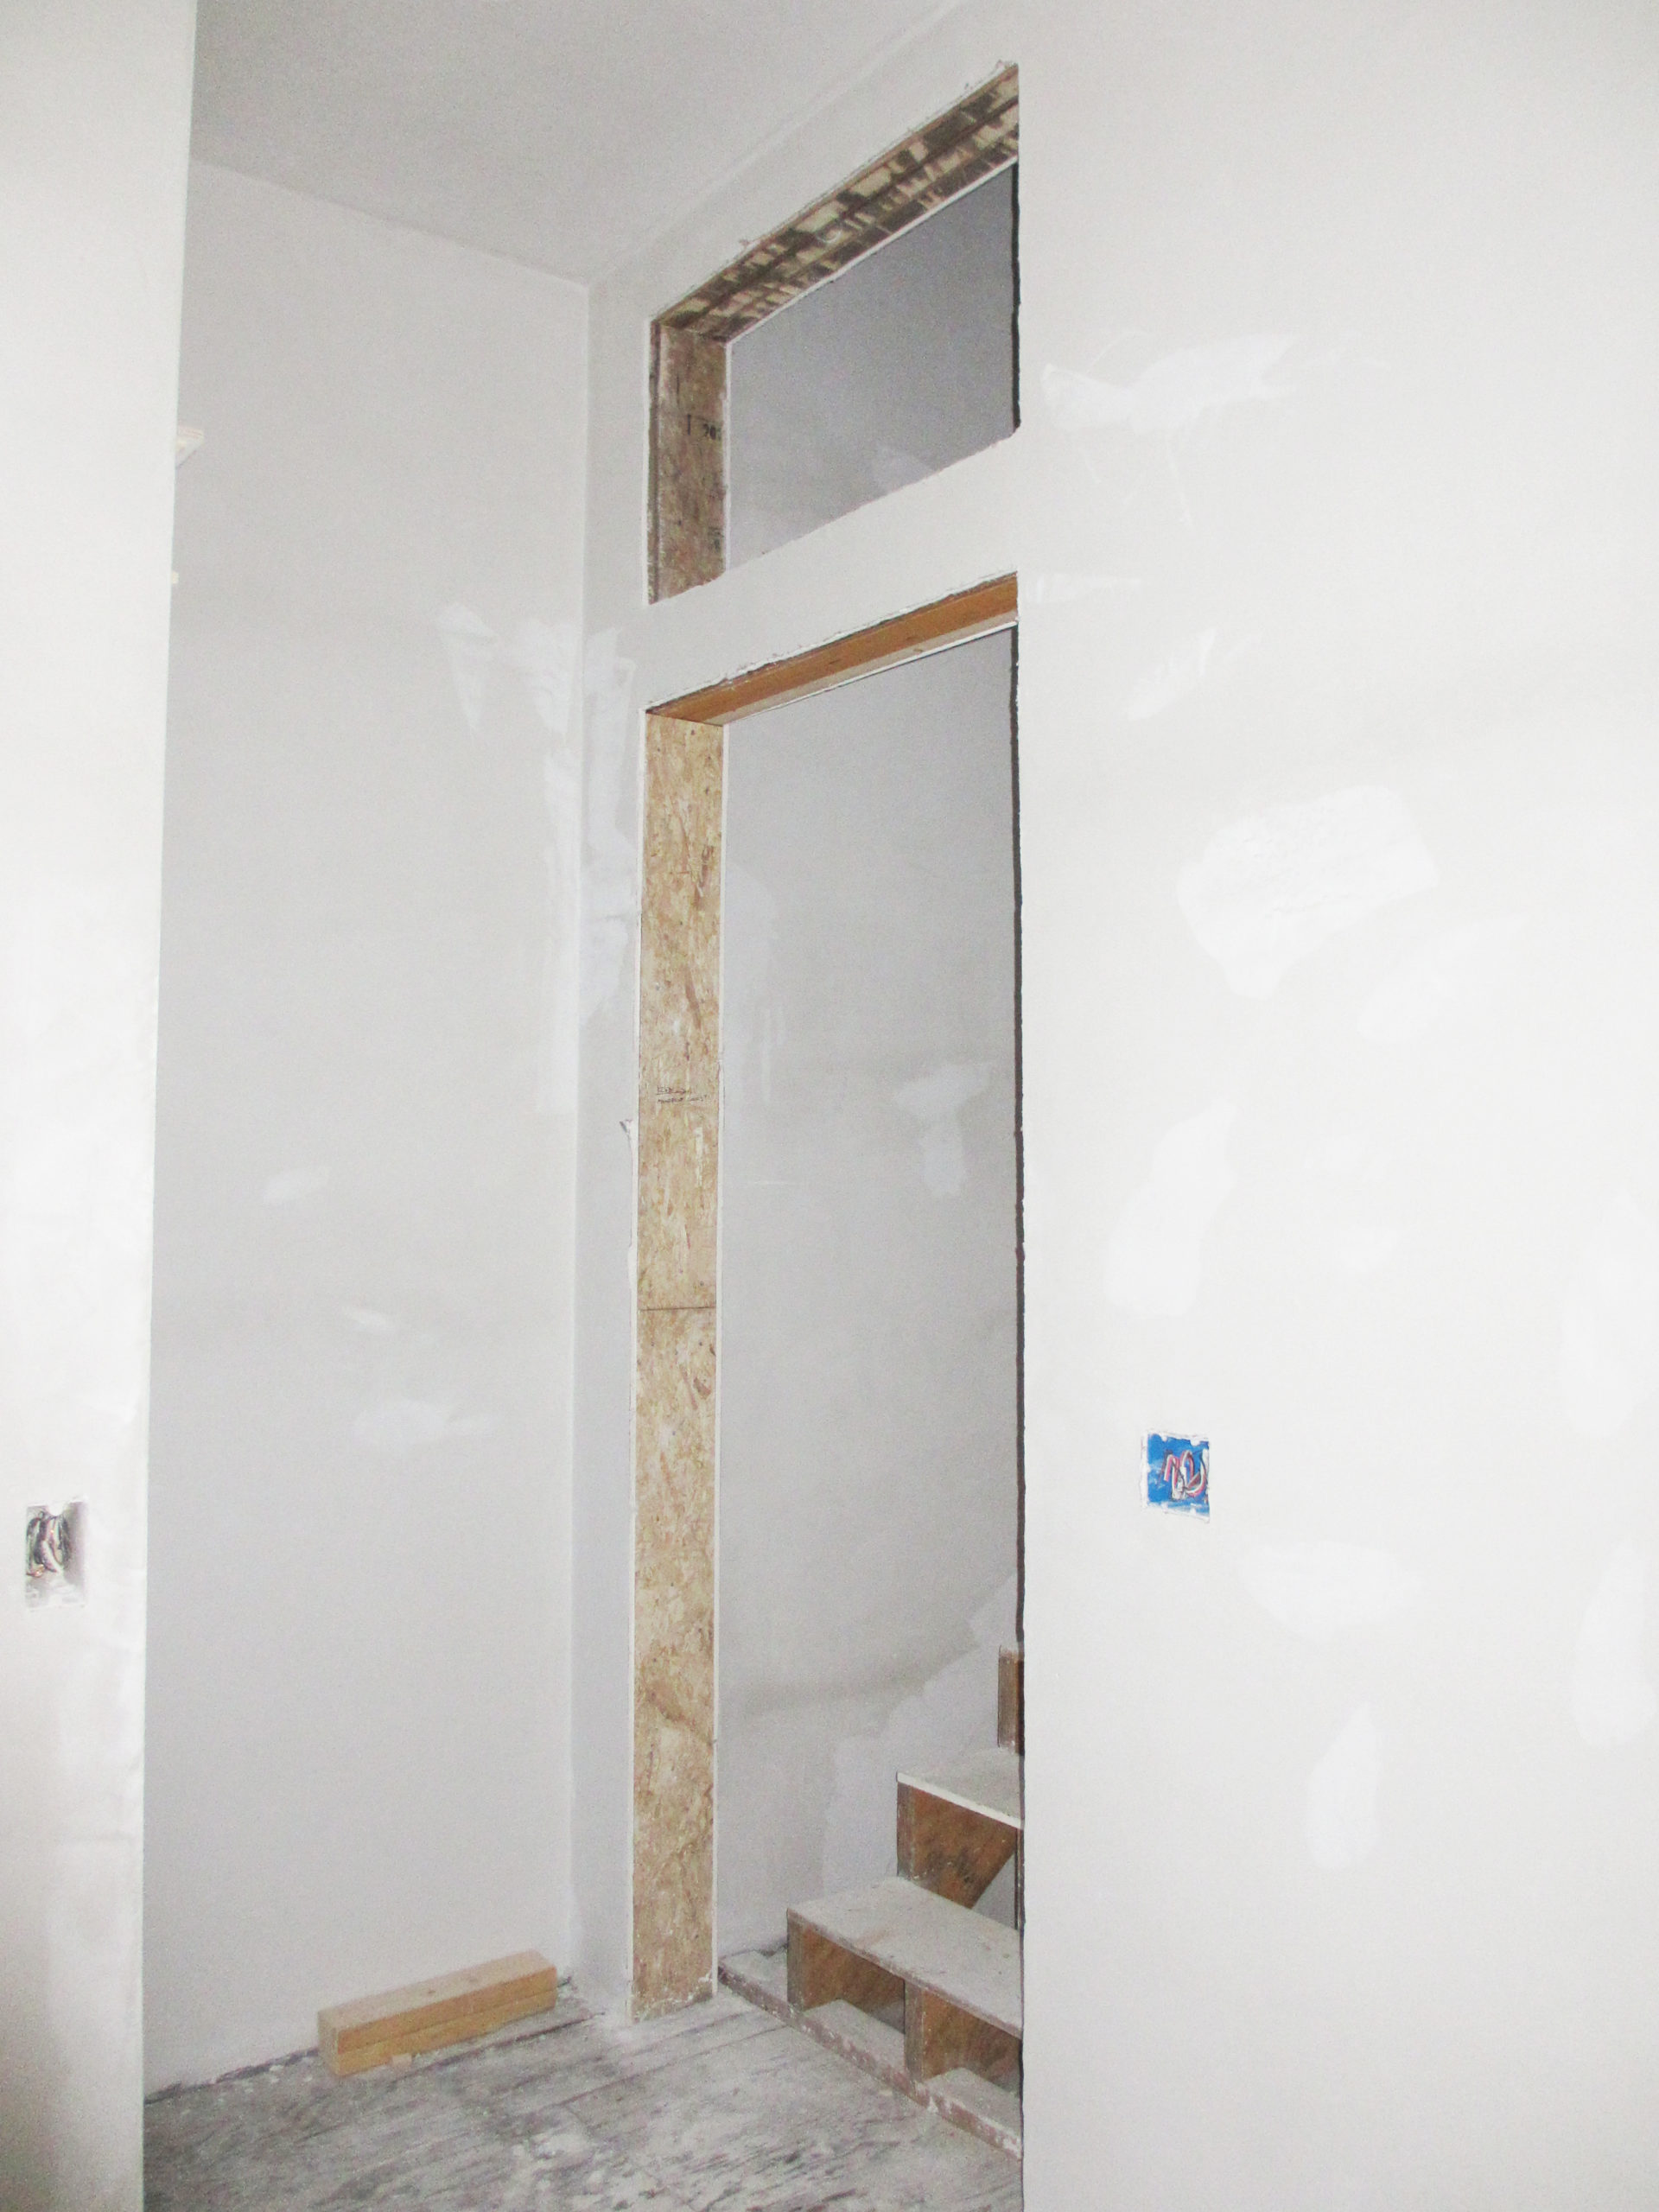
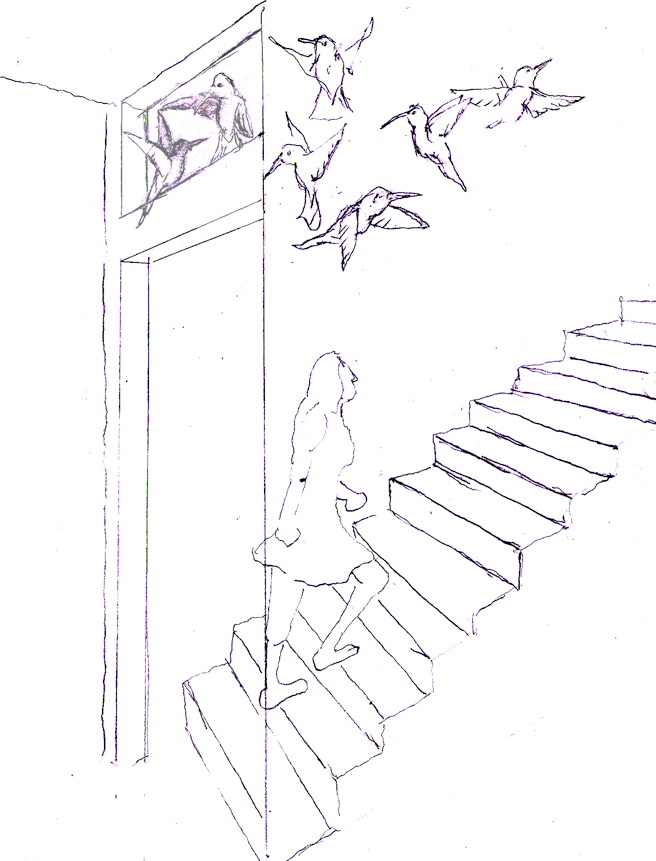
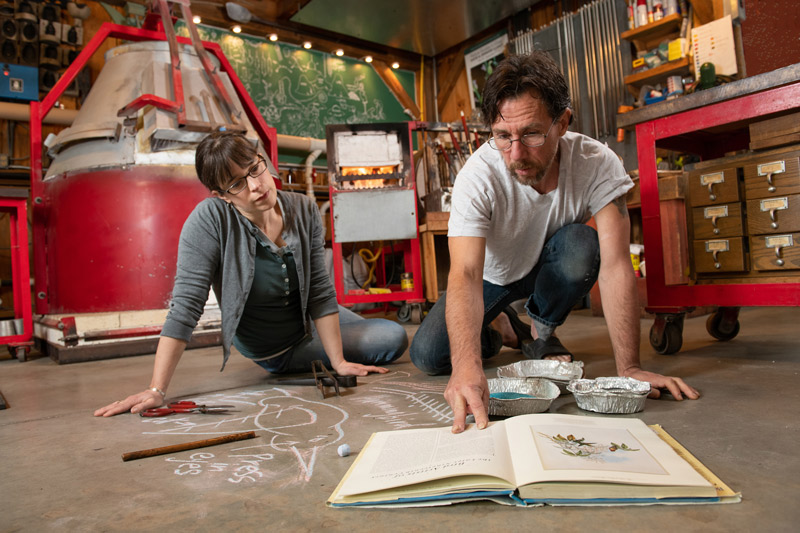
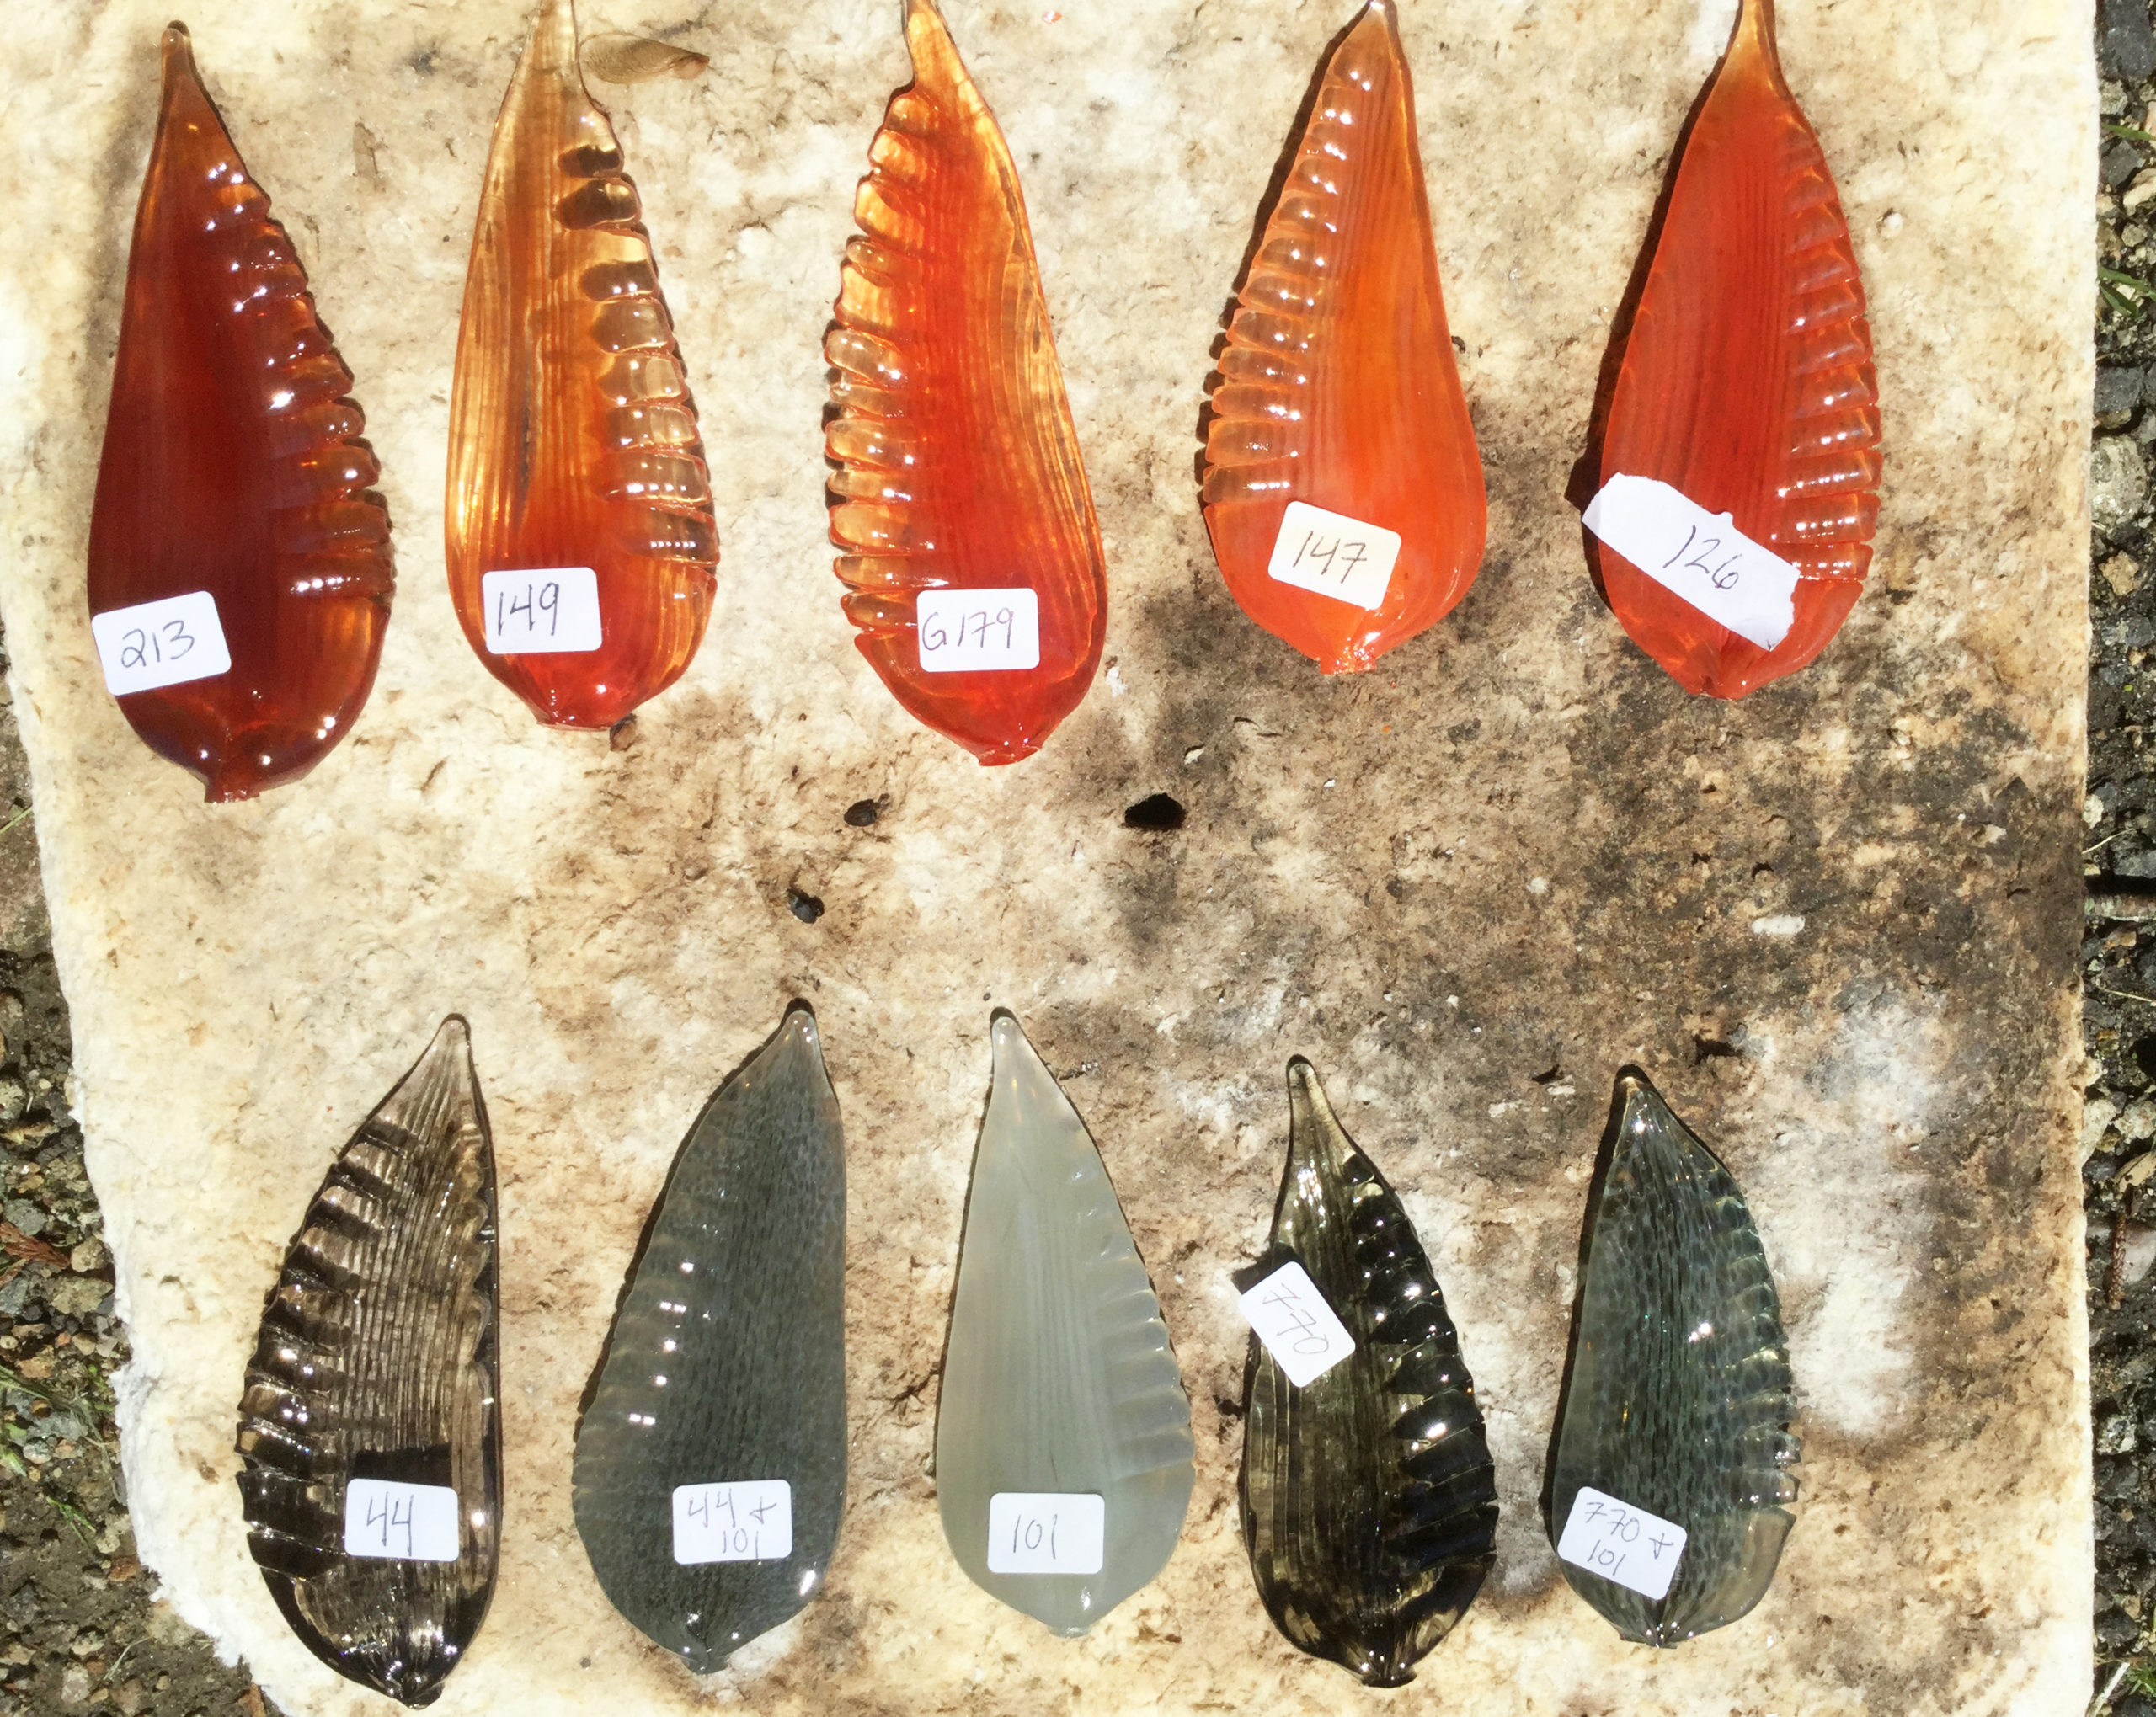
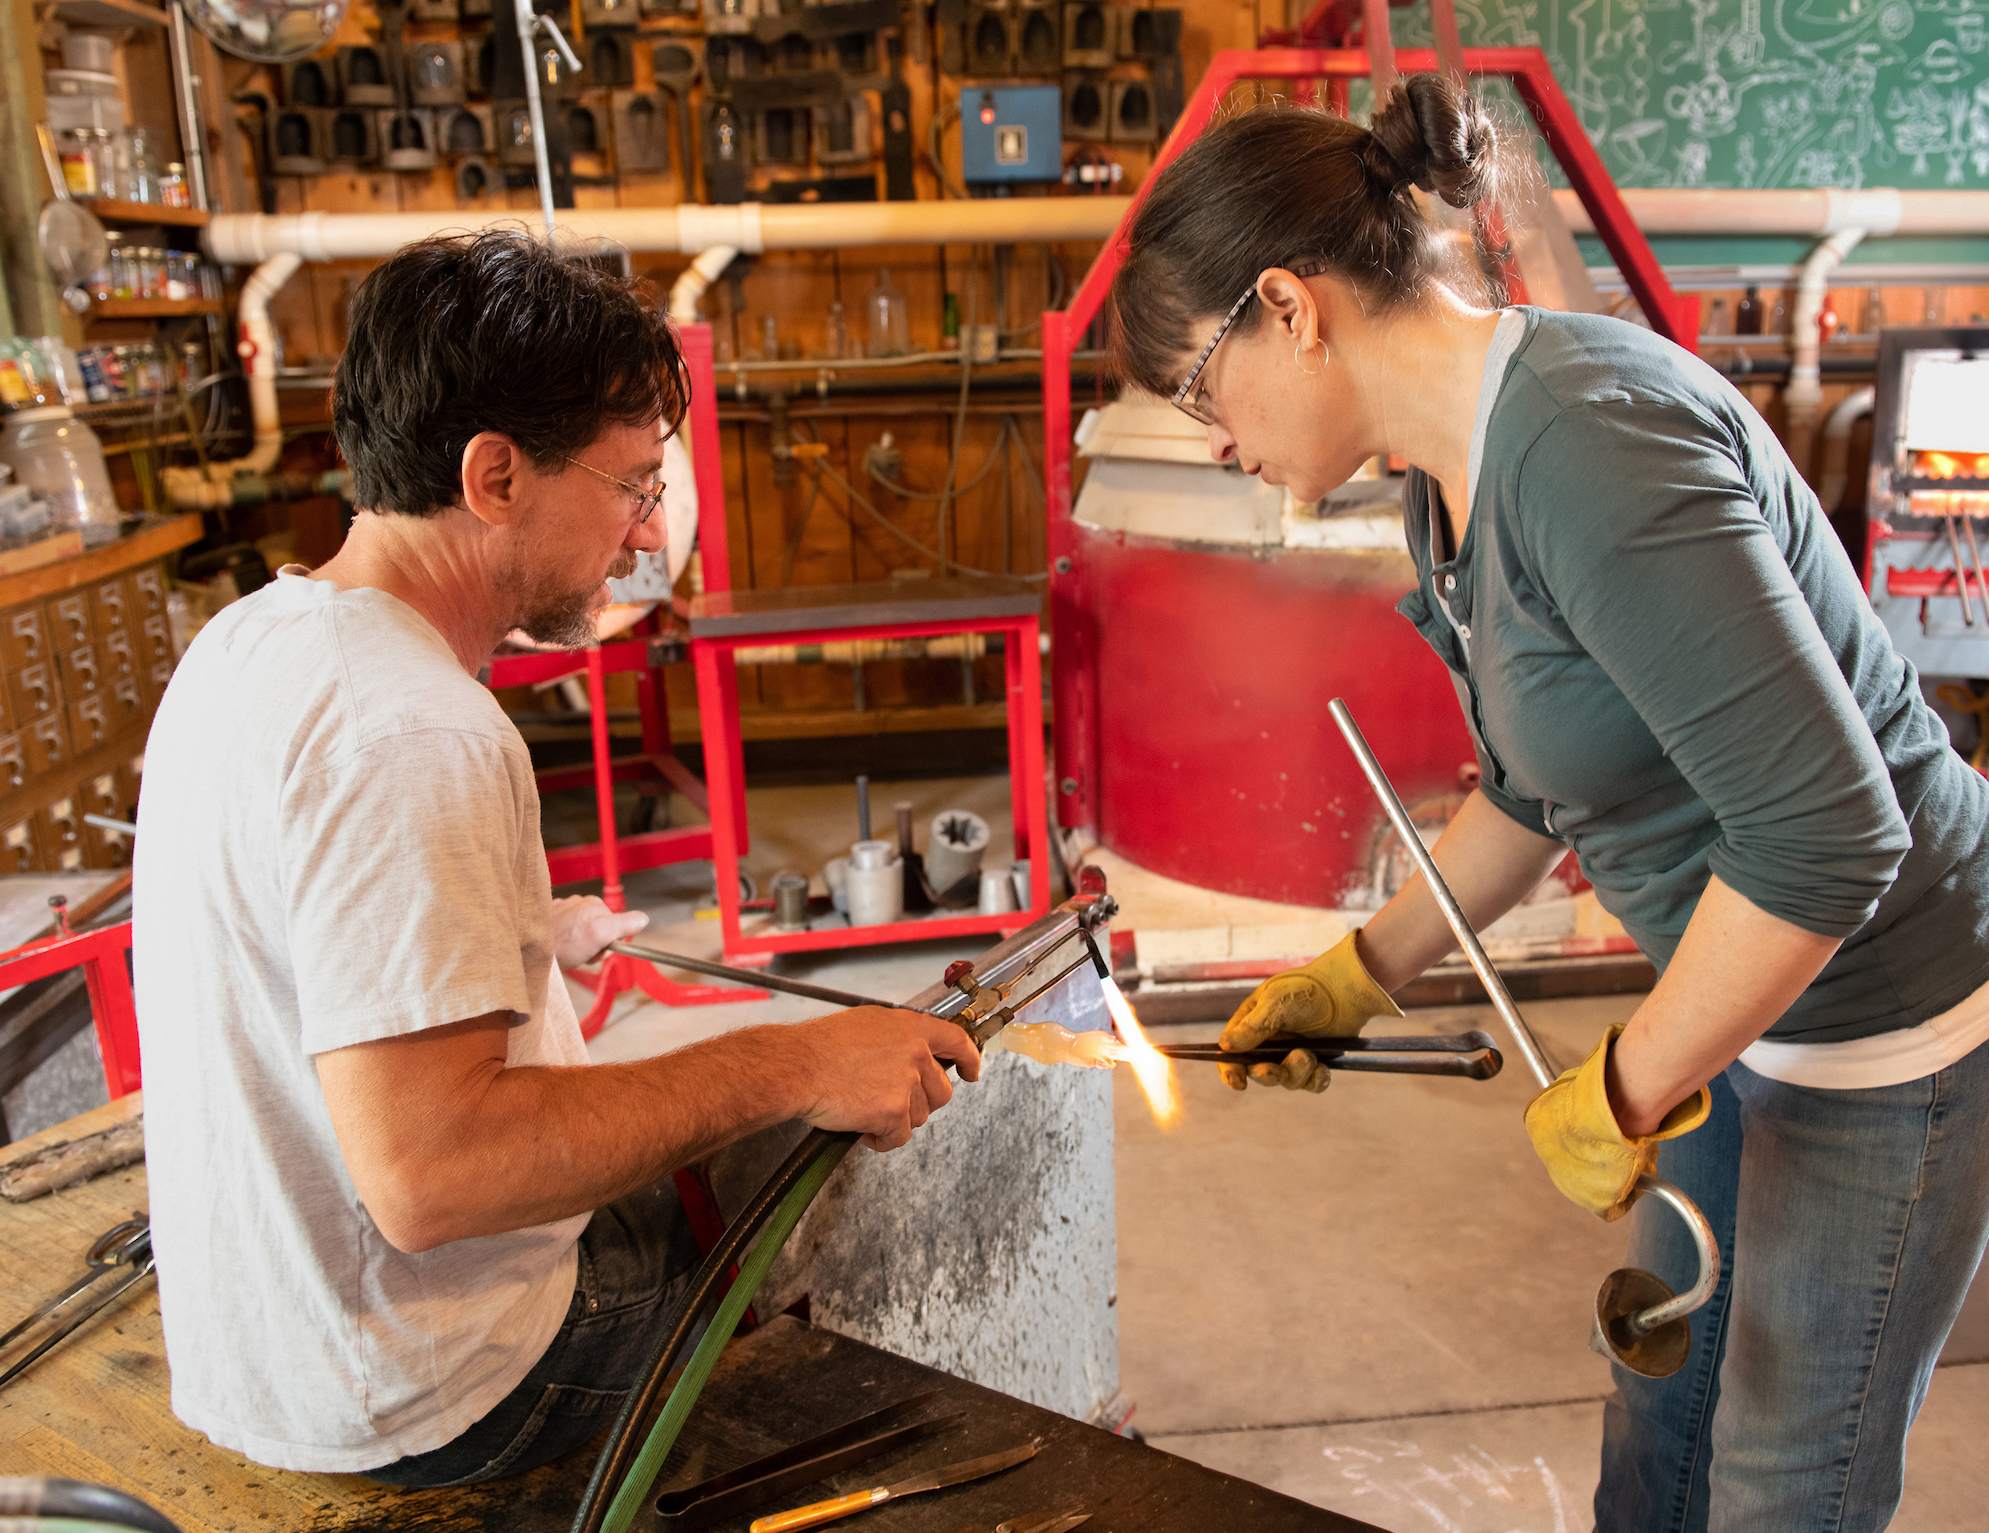
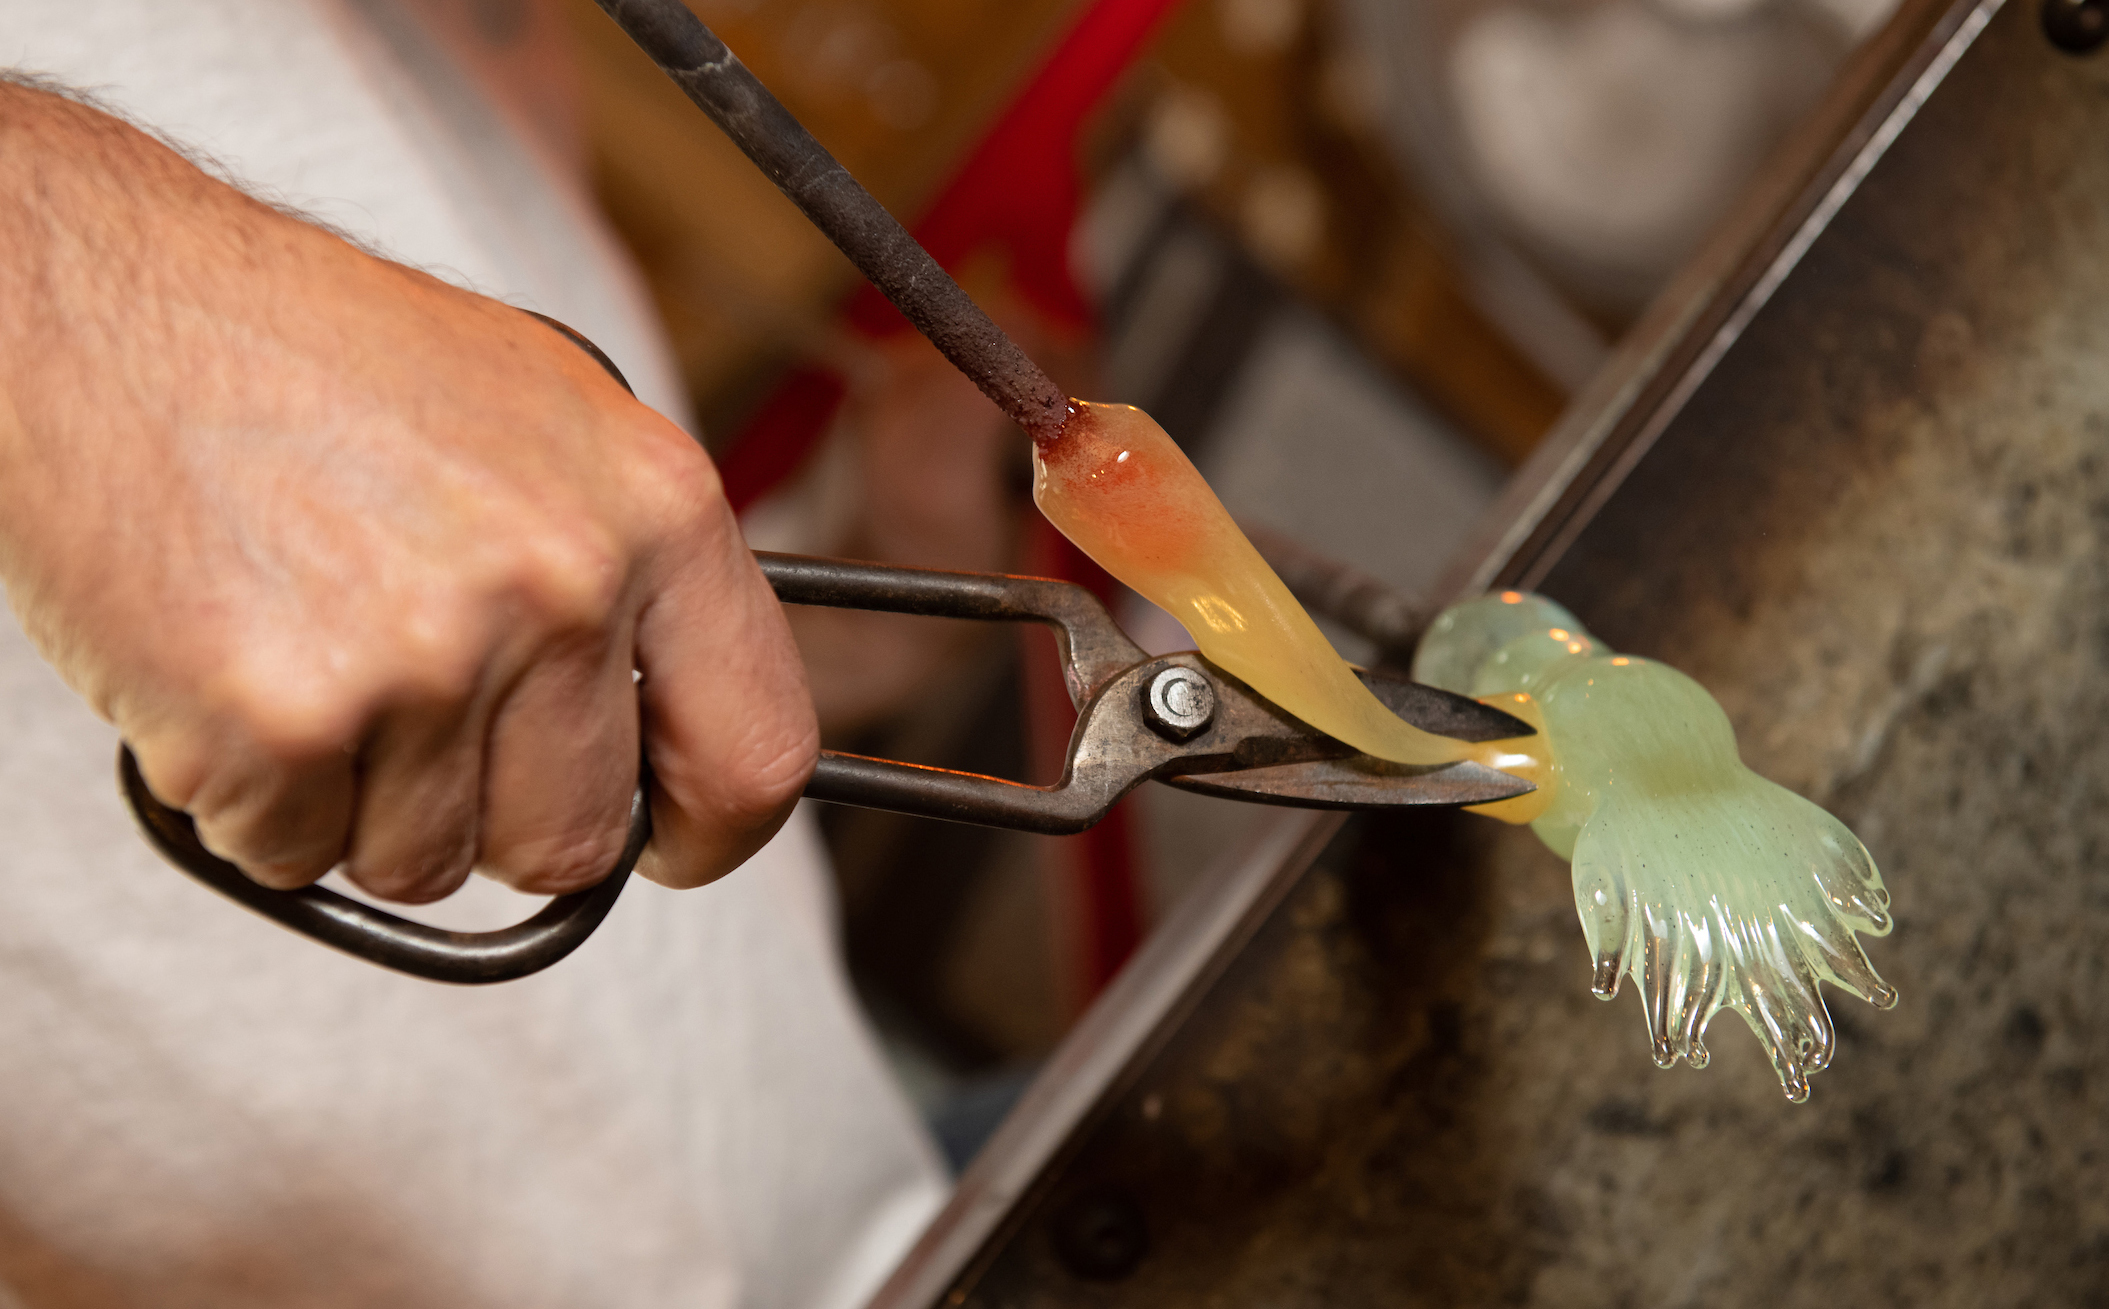
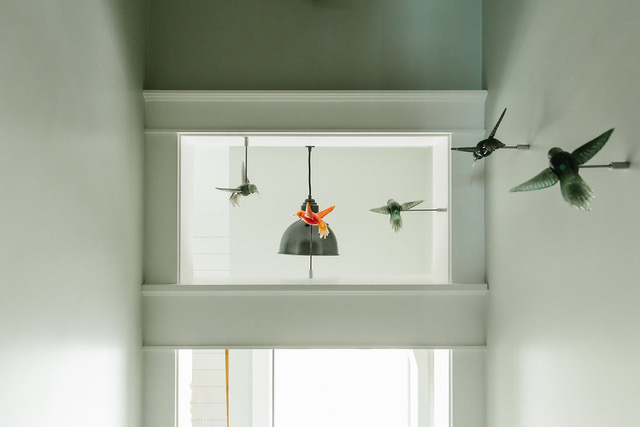
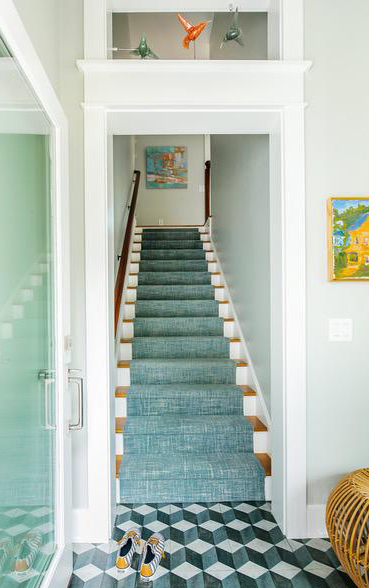
When it comes to creating our work, process is important. Blowing glass can be intense with so many factors to keep in control – having a plan before hand and practicing the steps is essential. At the beginning of an idea we often spend time on the floor of the hot shop sketching out ideas with chalk. Establishing basic shapes and talking through the steps of the process while drawing it out really helps us formulate a game plan. Next we may spend time creating color tests with many shades of pigmented glass to figure out what colors we wish to work with for our project. With a plan and palette in place we then start creating a prototype piece, working out the kinks in the process as we go. Finally the day comes when we start actual production and follow through on all of our preliminary work. When making our sculptures often times extras of each part need to be made so that when installation time comes we have all the shapes and sizes needed right at our fingertips. Creating all the parts to one of our sculptures can take a long time. Even after the hot work in the blowing shop is done pieces still may need to be cut, ground, drilled, or etched to be ready for the final work of art. Assembly day of an installation is very exciting. Finally all the designing, planning, and making have paid off and we have the pleasure of seeing one of our original works of art installed in a client’s space. Beautiful! Below is an example of one such project with snapshots from different steps of the process. “Flock of Birds” as seen flying through a stairwell transom.
